Rebuilding the C-52 gearbox
After all the parts had been thoroughly cleaned and all the new parts had arrived, I could start rebuilding the gearbox again.
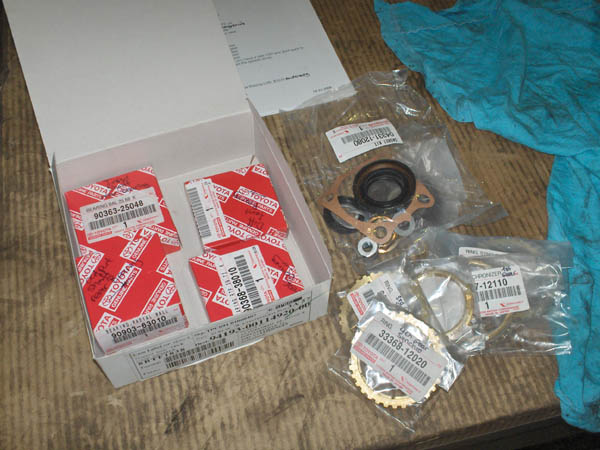
New bearings, synchromesh rings, gaskets and other parts needed for the rebuild.
Toyota had apparently made some modifications to a few parts over the years when I compared them to each other. The cages for the bearings had been altered and apparently beefed up a bit and the friction surfaces of the synchromesh rings were different from the old synchromesh rings.
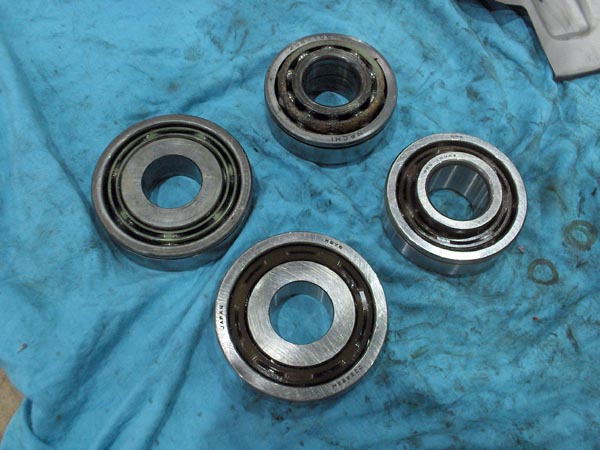
The old bearings on the left and the new bearings with beefed up plastic cages on the right.

The old synchromesh ring on top and the new ring on the bottom with a sort of
ceramic coating on the friction surface.
New and improved parts are always a good thing. So let's get this rebuild underway. I had to re-assemble the axles with the new bearings and rings again first.
Because I had documented how I disassembled the axles and marked the parts, I knew exactly where all the sprockets, rings, bearings, etc. needed to go and how the axles needed to be put together.

Two axles rebuild with new bearings and rings.
And while I'm at it, I can also look at what can be improved to the gearbox. The standard gearbox came equipped with a open differential. And there's nothing really wrong with that, most cars have them and they work well enough for everyday driving. But when you start pushing the car a little more, you'll run into a few limitations. Especially with a front wheel driven car like my Corolla.
But there are off the shelf solutions for that in the form of a LSD (Limited Slip Differential).
Where a normal open differential sends all the power of the engine to the wheel with the least traction, a LSD will send all or a least some of the power to the wheel that does have traction.
But then I can choose from a few different types of LSD's (You can read all about this on the page in the tech section about LSD's). But I chose a Quaife ATB (Auto Torque Biasing) Limited Slip Differential. In my mind, this is the most all-round and maintenance free limited slip differential for my application.
The LSD should help improve traction and help put the power of the engine on the road. And improved traction should also help improve the overall handling of the car.
Where a front wheel driven car is naturally prone to slide over it front wheels in fast and sharp corners (understeer) the LSD should help the car to counter this effect. And naturally, it improves traction in a straight line too as both wheels can put the power to the road.
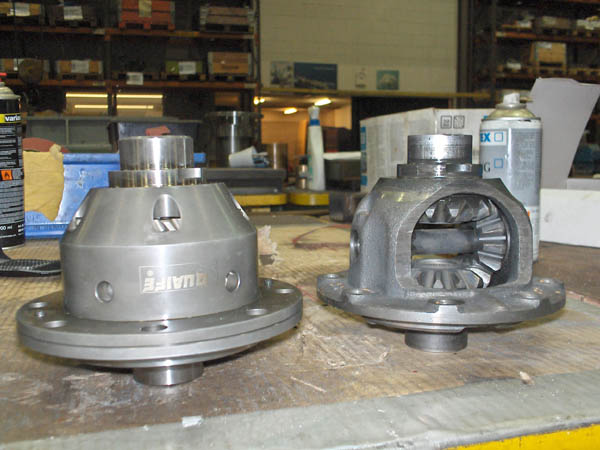
The new Quaife ATB LSD on the left and the stock open differential that came out of the gearbox on the right.
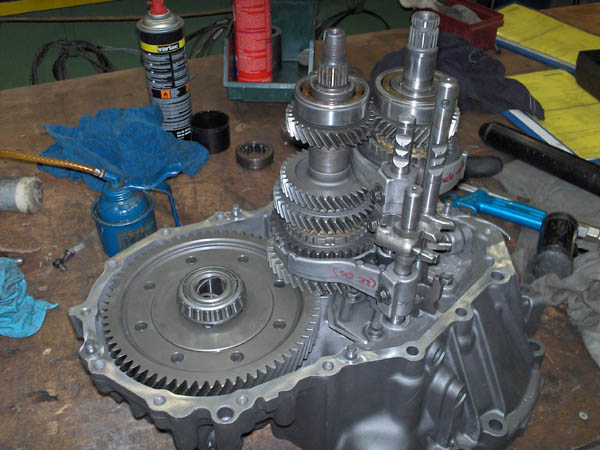
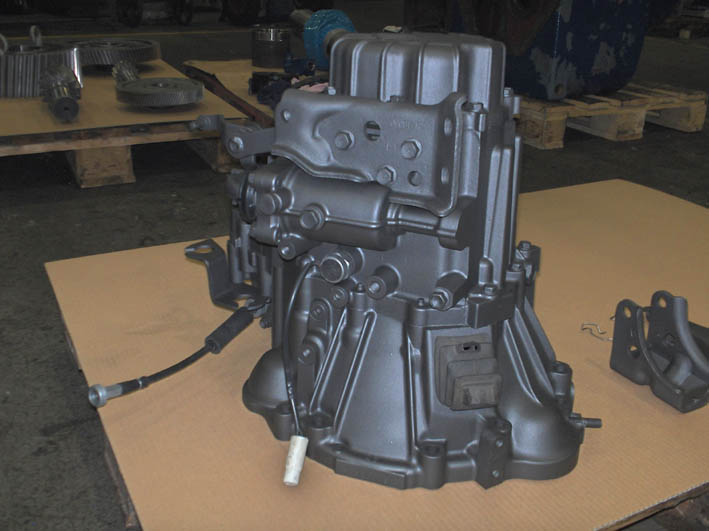
The gearbox partially assembled again.
But replacing the differential isn't a straight bolt in job. The differential rotates on so called tapered roller bearings and these need to be set at a certain pre-tension. This is done by shimming the bearings.
If the pre-tension is to low, there will be to much play on the bearings which could cause premature wear, noise or even damage to the gearbox. To much pre-tension and the friction on the bearings can be to high, making them run hot with premature wear or massive damage as a result.
So it's pretty important you get it right if you want your gearbox to work properly and last a while.
Shimming the bearings is a precision job, we're talking about hundreds of mm's here. And when the shim size is determined with the axial play of the differential in the gearbox housing and the shims are placed, the pre-tension needs to be checked. I didn't have the right tools for this, but I knew how I could improvise them.
First I had to make a little tool that allowed me to rotate the differential.
I needed to see how much force it would take to break the differential free from the friction of the bearings. But that needed to be done from the exact center of the differential to keep the measurements precise. I used the axle stub of a MR2 AW11 with a plate bolted to it. In that plate, I determined the exact center of the axle and threaded a bolt in to have something to grip when rotating the differential.
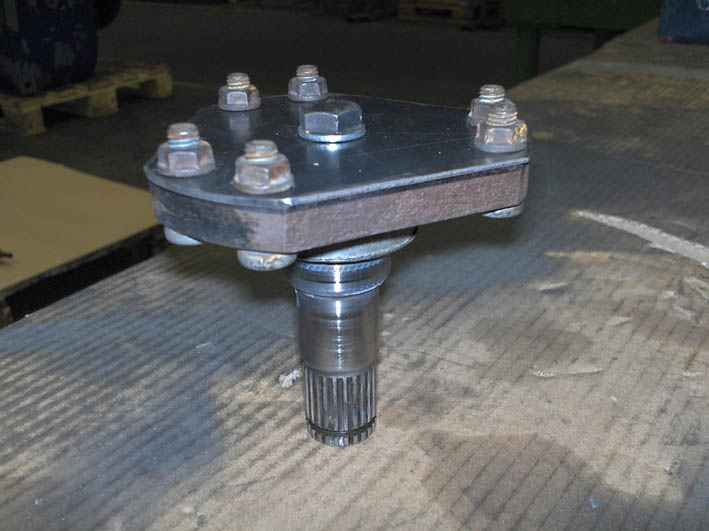
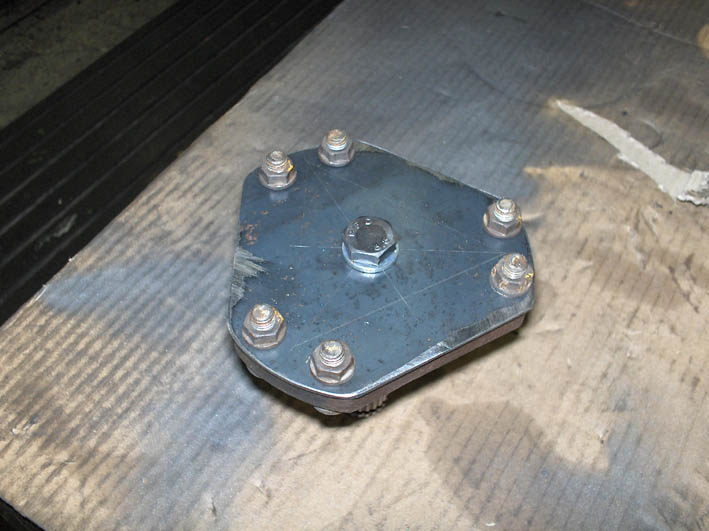
The axle stub with the plate bolted to it. I used basic mathematics to determine the exact center.
The measurements need to be very precise. With the right pre-tension on the bearings, it should take somewhere between 0,8Nm and 1,6Nm. to rotate the differential. Anything under 0,8Nm meant that the pre-tension was to low. Anything above 1,6Nm meant the pre-tension was to high.
But there are only few tools that can measure that precise and such low values. And if they can, they are very, very costly. So that wasn't a option, but using a little basic physics, I should be able to figure it all out.
0,8Nm to 1,6Nm's means 0,8 to 1,6 Newton per meter, which is equal to 0,08 to 0,16 kilograms per meter. So if I place a weight of 0,08 to 0,16 kg's exactly a meter away from the exact center of the axle, that should do exactly the same as those expensive tools. It's a bit unorthodox, but it did the trick for me.
Precise measuring, ghetto style!
With the original shims that were in the gearbox for the stock differential, the differential started to rotate at a weight of 50 gram or 0,05kg. So that meant the pre-tension was to low and I would need to add a shim.
I made a shim from very thin copper sheets that was 0,025mm thick, placed that under the bearing and did the same measurement again to see what the pre-tension would be this time.
Now the differential started to rotate when I placed 120grams on a meter away from the axle center. This calculates back to 1,2Nm which is right in the middle of the pre-tension Toyota has listed for this gearbox.
Nice! Now I could finish the rebuild of the gearbox.
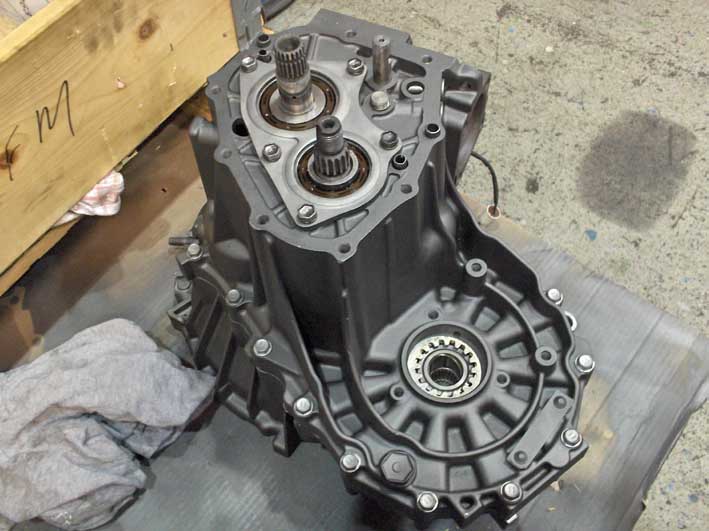
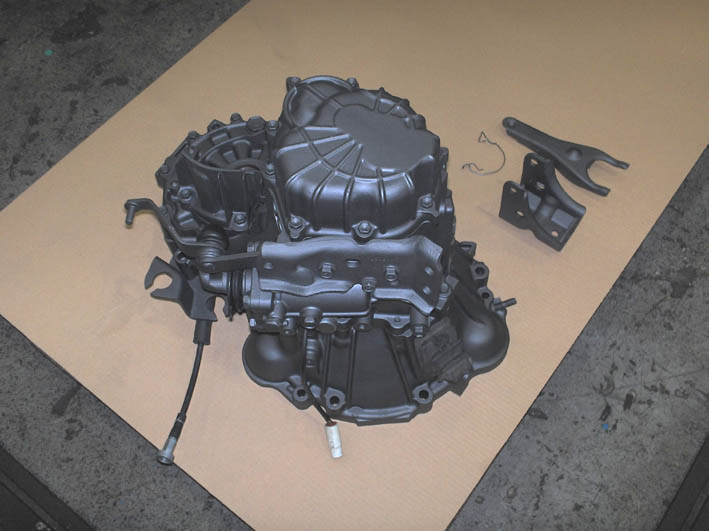
The gearbox mostly re-assembled. Only 5th gear needs to be placed now.
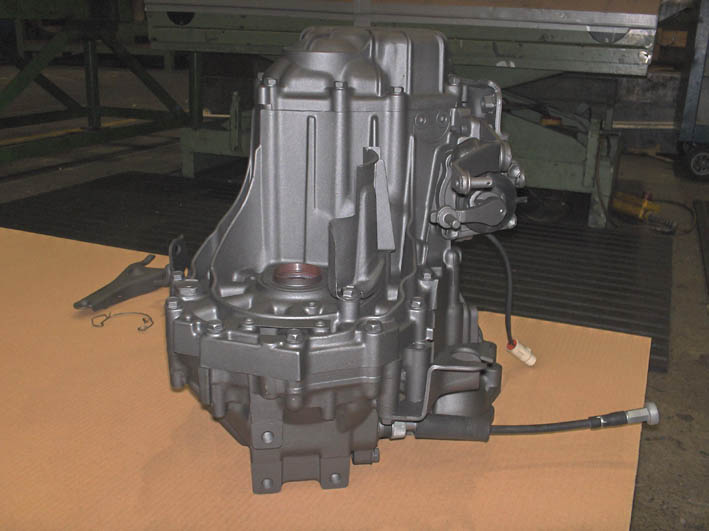
And after a few evenings of hard work I finally had result. The rebuild of the gearbox was finished and it came out great! All new parts and a Quaife LSD inside and the gearbox functioned as it should. Now it should be good for years and years of hard driving again!
But when the plans for the car changed, this gearbox was ditched in favor of the E-58 gearbox. In hindsight, it's a real waste of time and money. But at the time, I could not have foreseen that this was going to happen.
Ohw well, this is how those things go I guess.
I did learn a lot doing this rebuild and I will be a lot more confident in rebuilding another gearbox. And besides that, I had a blast doing this rebuild and isn't that what this whole project is all about?