Filling up the engine mounts
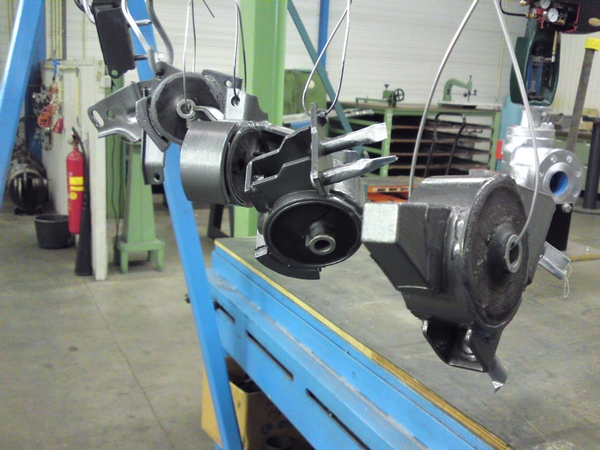
The engine mounts could do with a little attention.
But I was planning on taking that a little further than just cleaning them up. The engine mounts contribute to the responsiveness and performance of the engine. They can keep the engine from tilting.
When you hit the gas pedal with worn out engine mounts, the first reaction of the engine is lost in the tilting of the engine. It's only marginal and a fraction of a second, but it can lead to other problems and some of the liveliness of the engine can be lost.
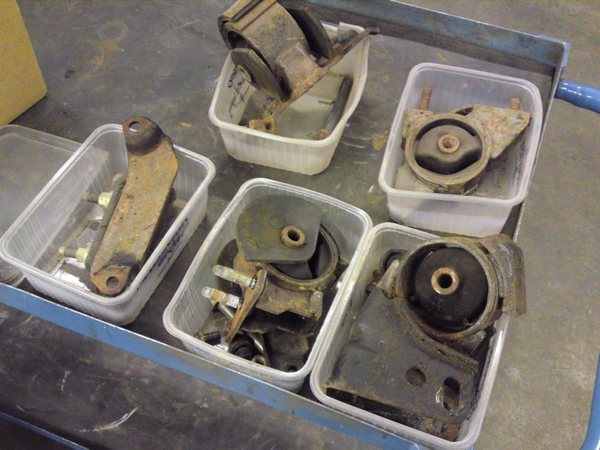
As can be seen in the picture above, the engine mounts of my car have seen some years of use and abuse. The rubbers could tear after a while or come loose from the metal housings.
So I decided to fill the engine mounts with polyurethane rubber (PU rubber). It really firms them up, but it is still flexible enough to absorb most of the vibrations caused by the engine and driveline.
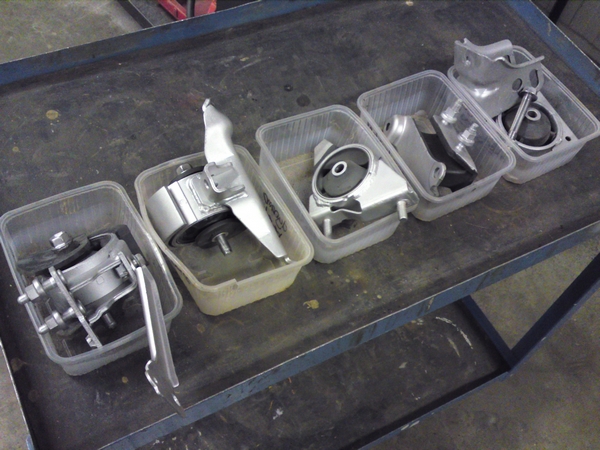
But before I could fill them up, I had to clean them up and make sure the PU rubber would have a surface it could adhere to. So I chucked them into the sandblasting cabinet and thoroughly cleaned them.
The polyurethane rubber is a 2 component liquid rubber that's normally used for making casting molds for concrete products. After consulting the people who make the stuff, it seemed best to use a hardness of shore A60.
That should roughly be the same hardness as the original factory rubber in the engine mounts.
When I ordered the stuff, I also bought a spray can with some wax like material which the PU rubber can't adhere to. I can use this to spray onto molds when pouring the PU rubber.
Before I started to mix and pour the PU rubber, I had to make a little mold to prevent the PU rubber to run out of the bottom of the engine mount. After spraying that mold with the anti-adhesive wax, I used good old duct tape to fix the mold to the engine mount and seal up the edges.
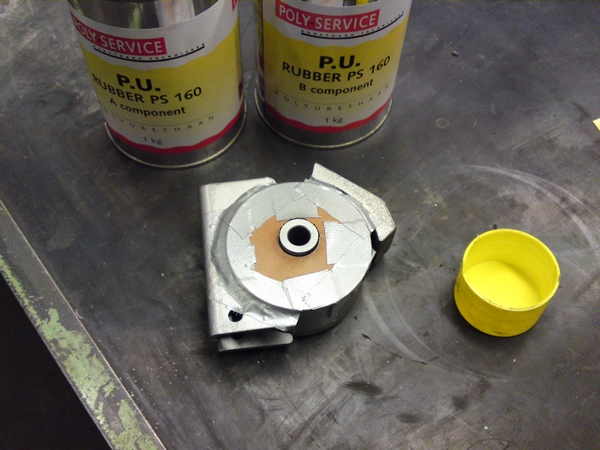
I did this to all the engine mounts so that I could pour them with the PU rubber all in the same go. When you have mixed the two components of the PU rubber, you only have a limited amount of time before it starts to set and harden. So I had to mix up enough of the stuff to be able to fill all the engine mounts.
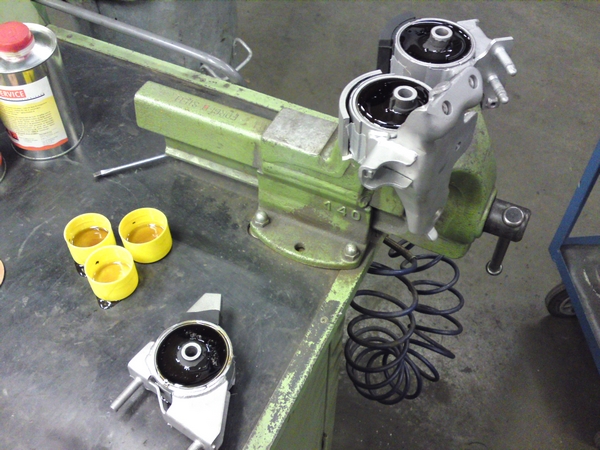
The PU rubber mix get a but of a syrup like substance and had to be poured slowly to prevent air bubbles to be trapped inside the mounts. I let the engine mounts cure for about 24 hours before I removed the molds from the other side. I was pretty pleased with how they came out.

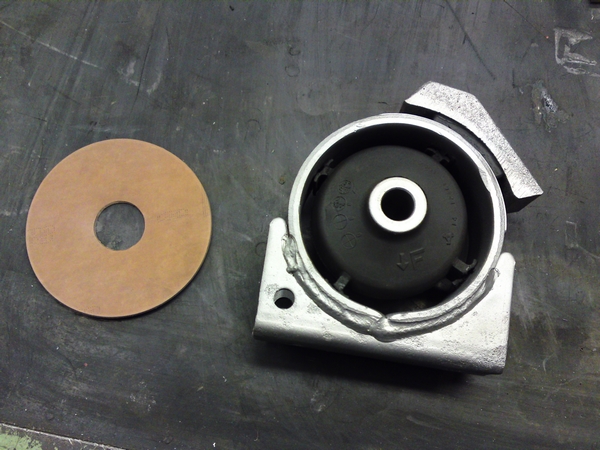
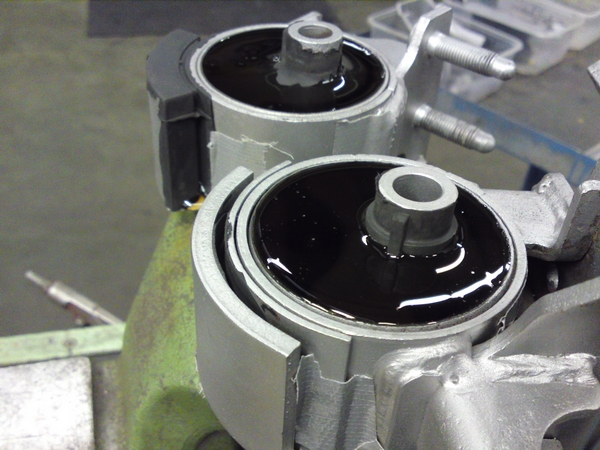
The engine mounts after filling them with the PU rubber. Those are not cracks in the rubber you see.
It's just some wax like anti-adhesive residue left on the PU rubber.
The PU rubber has a sort of honey like color. But because I poured it over the existing rubber in the engine mounts, they came out an even black. I kind of liked it that way, it looks like they came from the factory like this.
Because the engine mounts are made of just metal, they are susceptible for corrosion. To prevent them from rusting, I gave them a new coat of paint. Now they are ready to resume their job under the hood again.