Dismantlement
Before I can get anything started, the car wil have to be dismantled. I'm going to completely strip the car bare so I can see what I have to work with, where and how bad the rust is and what needs to be done.
The car was jacked up and placed on axles stands so I could work safely on the car and still be able to get to everything under the car.
I started with getting all the bigger body panels off. It seems like the best way to start because this frees up a lot of room to work with.
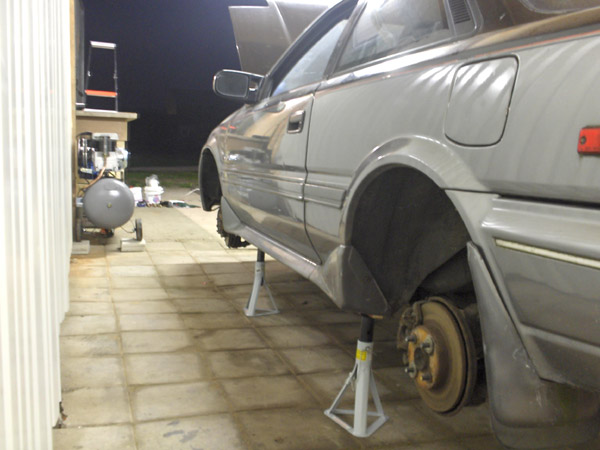
To remove the hood and doors, I asked my brother to lend me a hand. That makes it a whole lot easier to remove big, heavy parts like that.
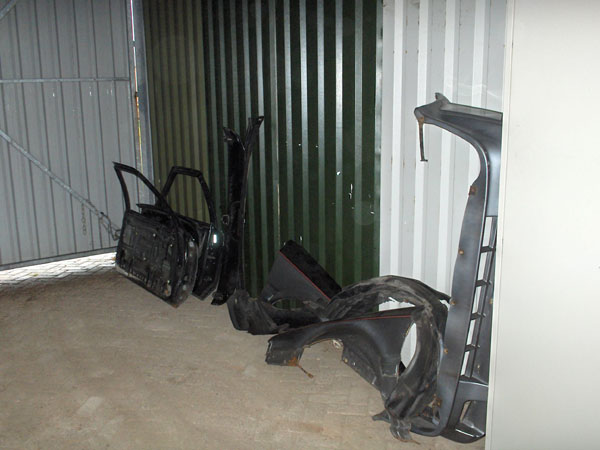
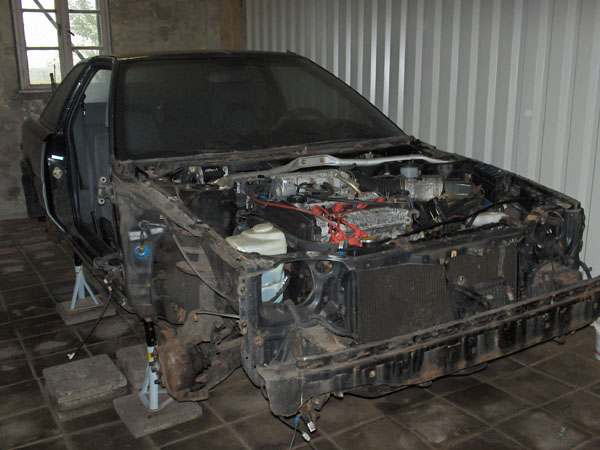
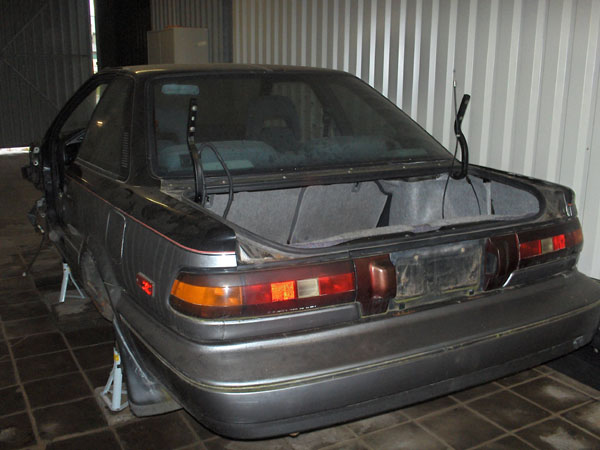
The bumpers, boot lid, sideskirts and front fenders were easily removed quickly and that makes the car look a little like this:
Before I removed anything, I photographed how it sat on the car so I can look it up in a few years if necessary.
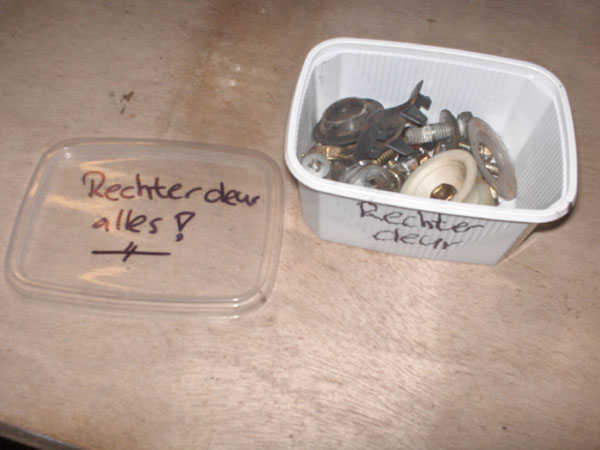
All the bolt, screws and small parts that came from the car were cataloged and stored in small boxes together so I won't loose anything and don't have to search for a specific bolt when I put it back together in a few years.
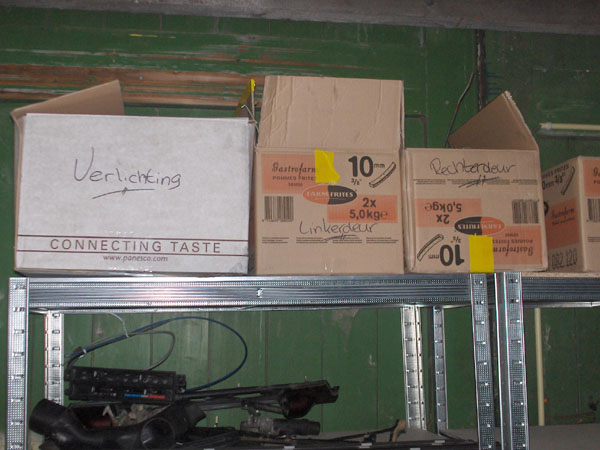
The bigger parts are stored in boxes with written on it what is inside.
The doors were removed completely, but there are quite a few parts on it which were removed as well.

One of the parts on the Corolla that is probably first to rust are the sills. Especially on car with sideskirts. Mud an other gunk tens to accumulate under the sideskirts and retain water etc. under there. As long as that remains there, it will start to eat at the metal sills.
This left some pretty serious holes in the sills and quarter panels of my little hatchback Corolla, so I was already dreading what I would find when I would remove the sideskirts on the coupé.
When I did remove them, my suspicions were proven to be true.
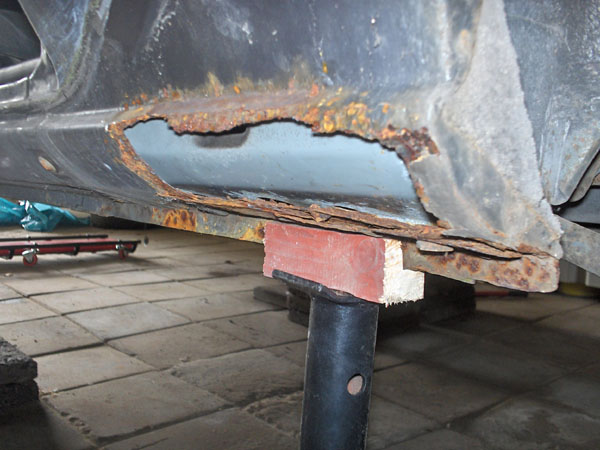
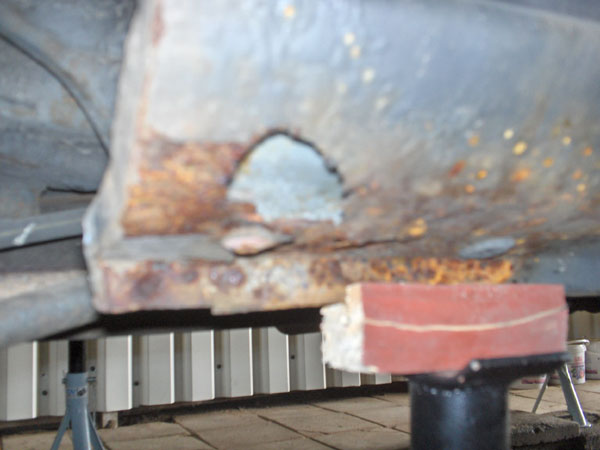
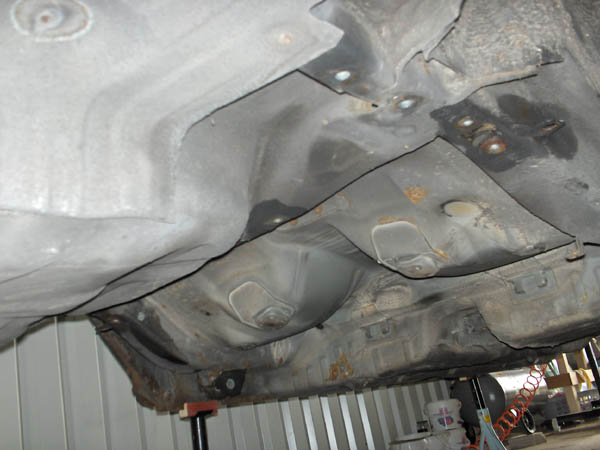
But luckily for me and as can be seen in the pictures above. The inner panels were not yet affected by rust which would make repairs a whole lot easier.
The rotten outer bits would need to be cut out and new fresh metal to be welded in.
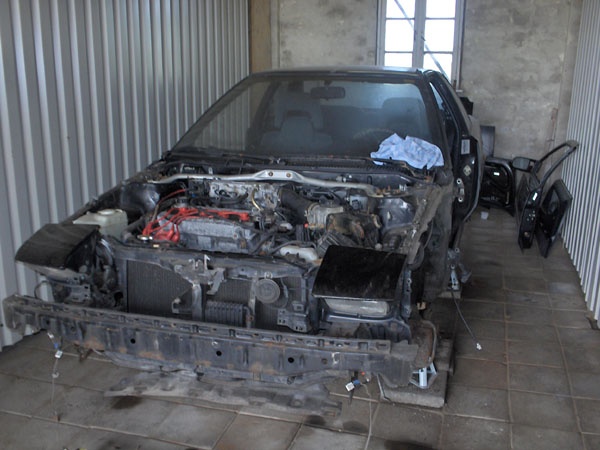
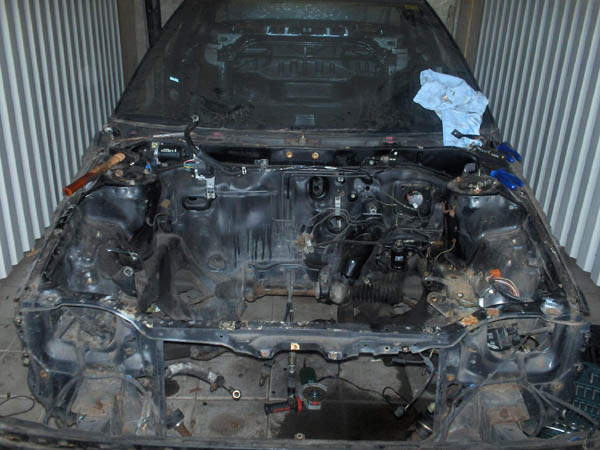
After removing all those large parts, the car starts to look pretty naked pretty fast. And after a while, it doesn't even resemble a car anymore. Not bad for a days work.
After the engine was removed, I had enough room to get to the firewall. Everything that was on there needed to be removed too. So the wiper motor, brakelines, and brake proportioning valve had to go.
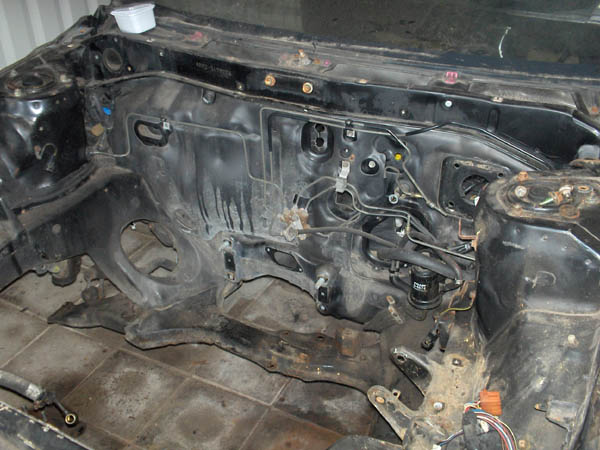
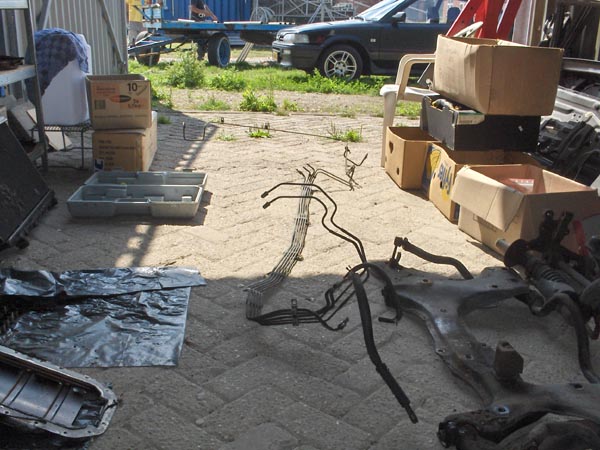
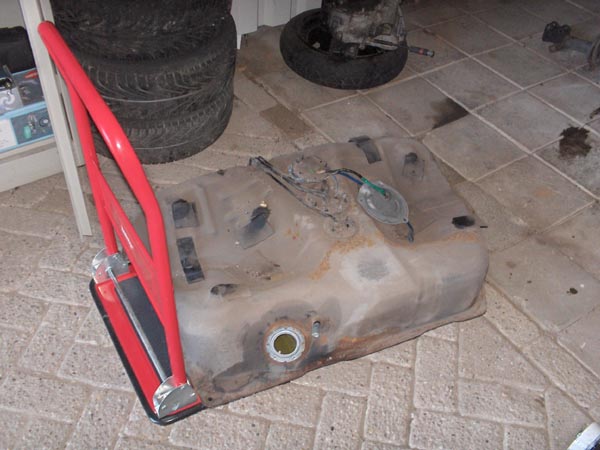
After that was done, everything that was still underneath the car could be removed. Fuel lines, brake lines, handbrake cables and fueltank were all unbolted and taken down.
Removing the fueltank wasn't all that easy as it's a pretty large and cumbersome part. But lying on my back with my nose just inches away from the tank, I managed to get it down.
All the glass needed to be removed as well. But as this car was never sold here, I thought it was probably wise to check if I could even get new windows here, before I would go on and remove the old ones.
Specialized car glass companies couldn't help me as they didn't have anything on stock for these cars. So I turned to the local Toyota dealer to see if they would be able to supply me with a new front windshield and rear window.
Turned out they could help me and get me some new glass. The rear window had to be flown in all they way from Japan, but I didn't mind waiting a little for that to arrive.
But now that I knew new glass was on it's way, I could start trying to get the old ones out. The glass companies didn't want to remove the old glass if I wasn't buying new ones from them. I thought it would be a simple and quick task form them with the right tools, but they just weren't willing.
So I would have to do it myself. The quarter windows were easy enough. They were bolted down on the inside of the car and were sealed with a very sticky and flexible kind of sealant. But a little fishing wire cut right through it and those windows could be used again and were stored safely.
That left me with the front and rear windows still in place. Since they're part of the cars structural integrity, they are really bonded it there with a very strong adhesive sealant.
I didn't have the right tools to cut through that so I didn't really have any other option than breaking the glass and get it out that way.
Thinking that wouldn't be to hard, the glass of the windshield just laughed in my face when I tried to break it with the tip of a hammer. I really had to slam down on it to even get it to crack!
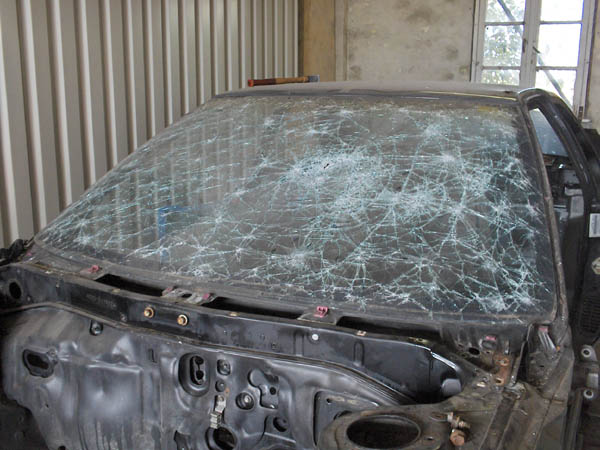
The glass is laminated with a plastic layer that keeps it al together when it's smashed up. I can now say that stuff works really well.
It took some effort to get all the glass out. All I had to do now was remove the pieces of glass that remained along the edges, still stuck to the sealant. I tried to cut it away with a sharp knife and that worked.
That was the front windshield. Now I had to smash in the rear glass. After my experiences with the front windshield, I thought this glass would need a fair bit of force too. So I gave it an enormous whack with the hammer. But this glass just shattered into a million little pieces after one blow.
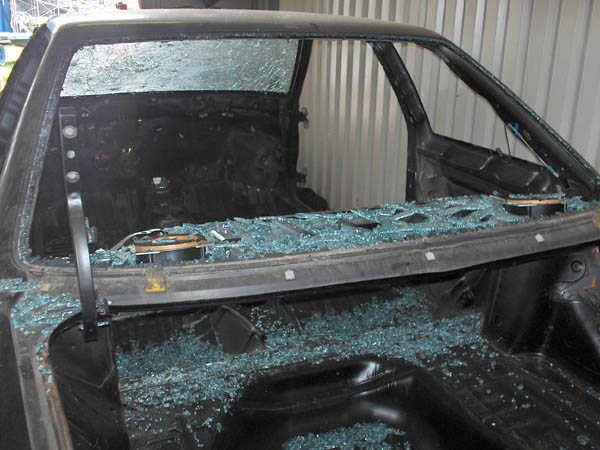
Well, that was easy. And nice and easy to clean up as well. Get the worst out with a broom and just suck up the rest with the vacuum cleaner.
But that glass just get everywhere in the car. Months and even years later I still found pieces of shattered glass throughout the interior of the car.
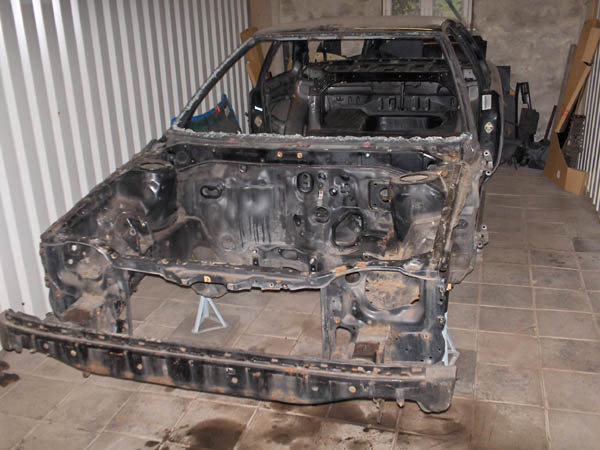
By the end of the day, the car looked like this. Almost completely stripped out. Now I could start to look what real condition the car was in and what would be needed to get it back in to tip top shape.
Other than a few rusty bits it didn't seem to be all that bad. It will need some patches welded in here and there, but all in all, the body was structurally sound.